API Configuration
Introduction
The Digisquares platform simplifies API integration by providing a powerful API configuration tool. This guide outlines the essential steps to set up, manage, and test your API configurations, enabling you to easily connect to external services and data sources.
Whether you're integrating user data, managing third-party services, or handling cloud-based APIs, the platform offers an intuitive way to define, secure, and customize your API setups.
Steps to Create a New API
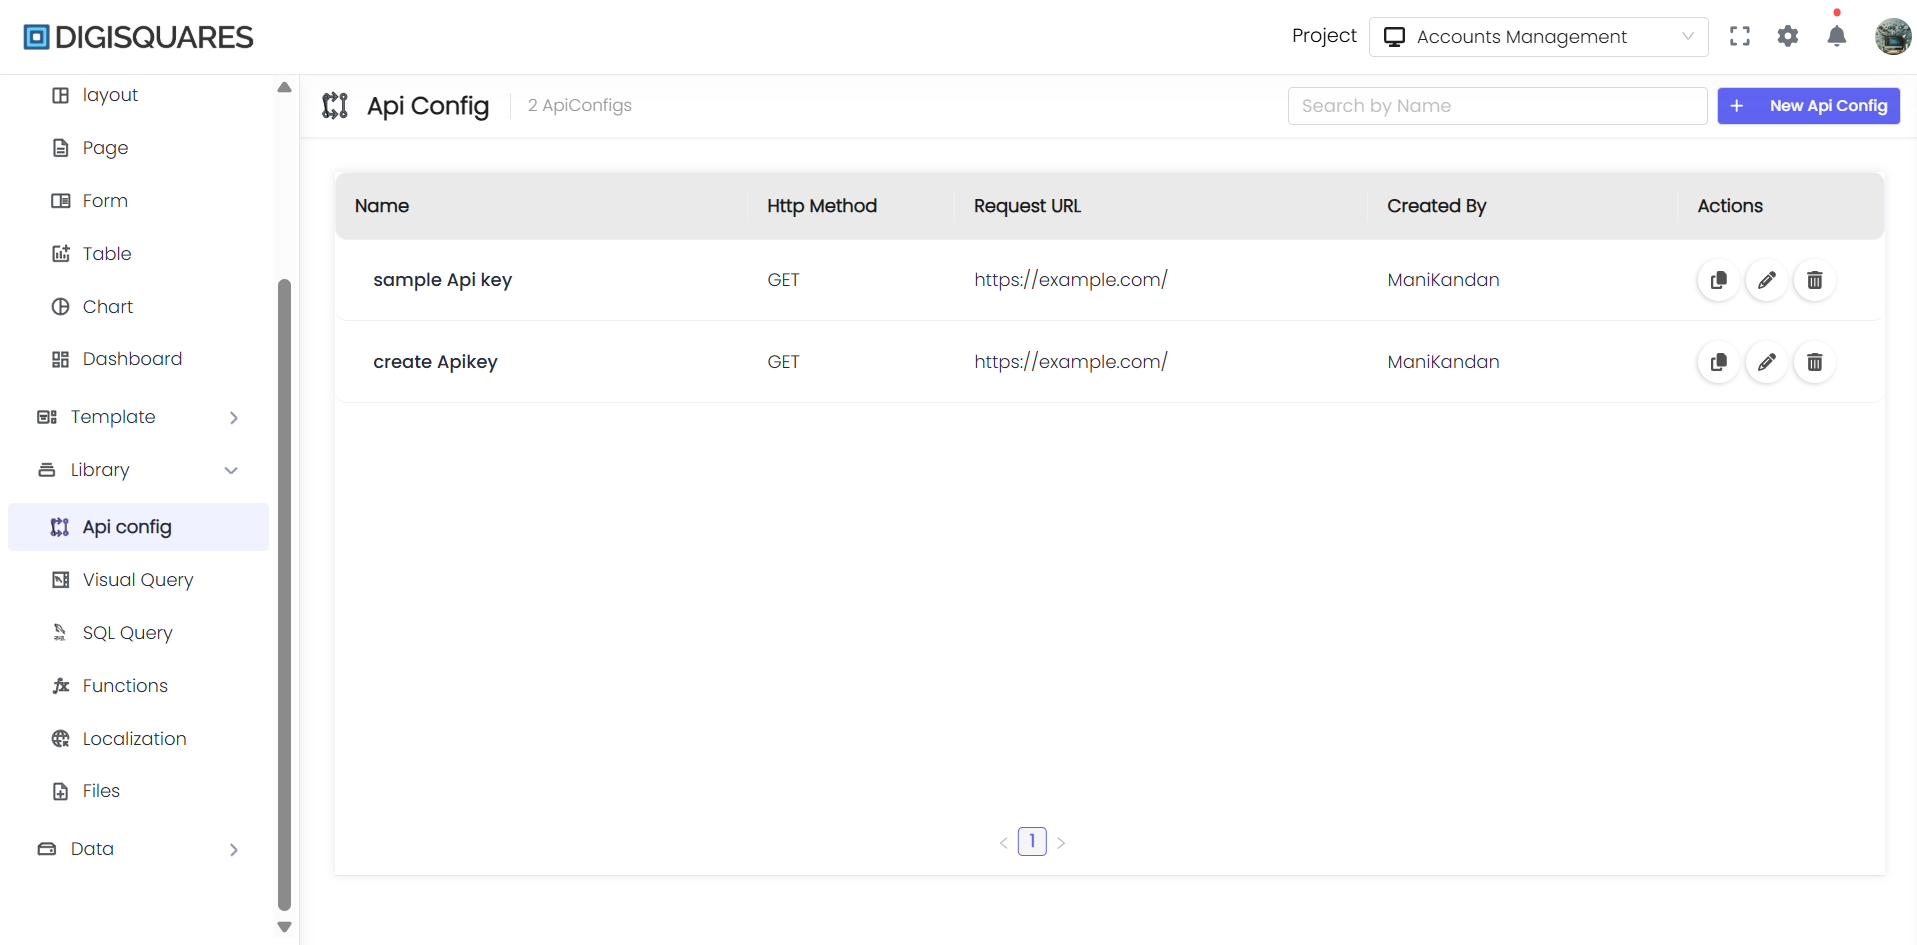
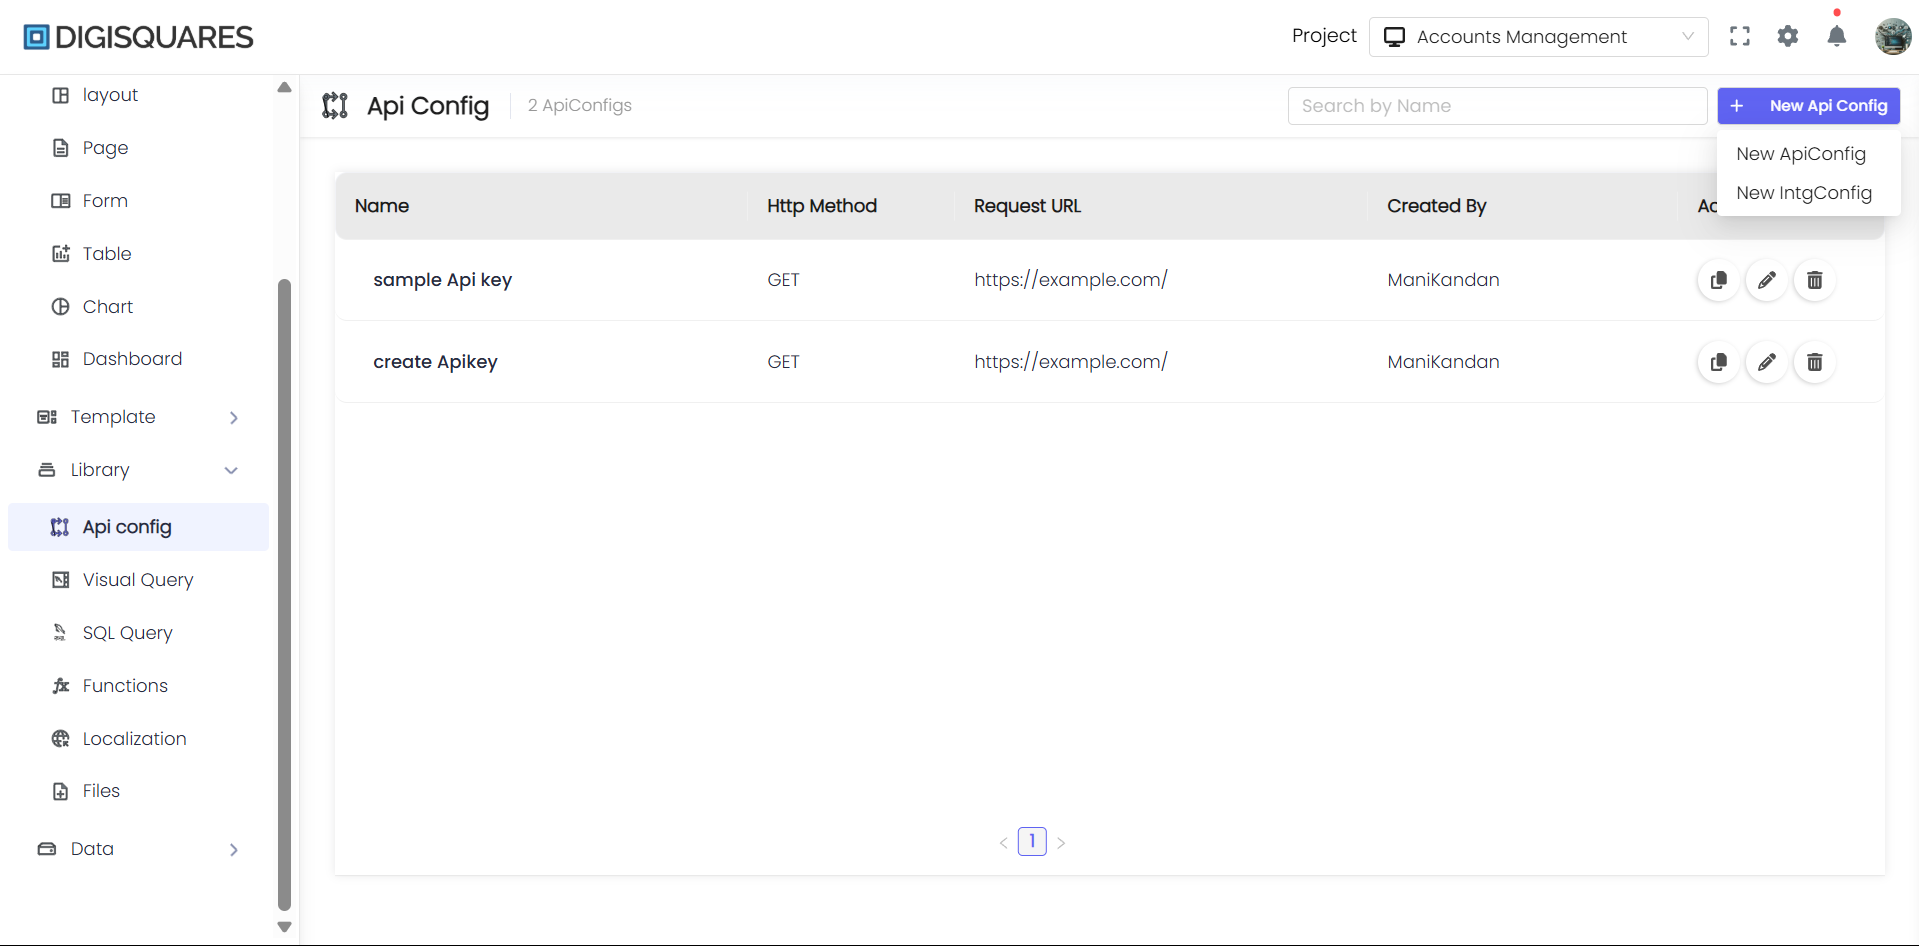
Step 1: Access the API Configuration Tool
- Log in to your Digisquares platform account.
- Navigate to the API Configuration Tool located in the development environment or API management section.
Step 2: Start Creating a New API Configuration
- Click on "Create New API" to begin the setup process.
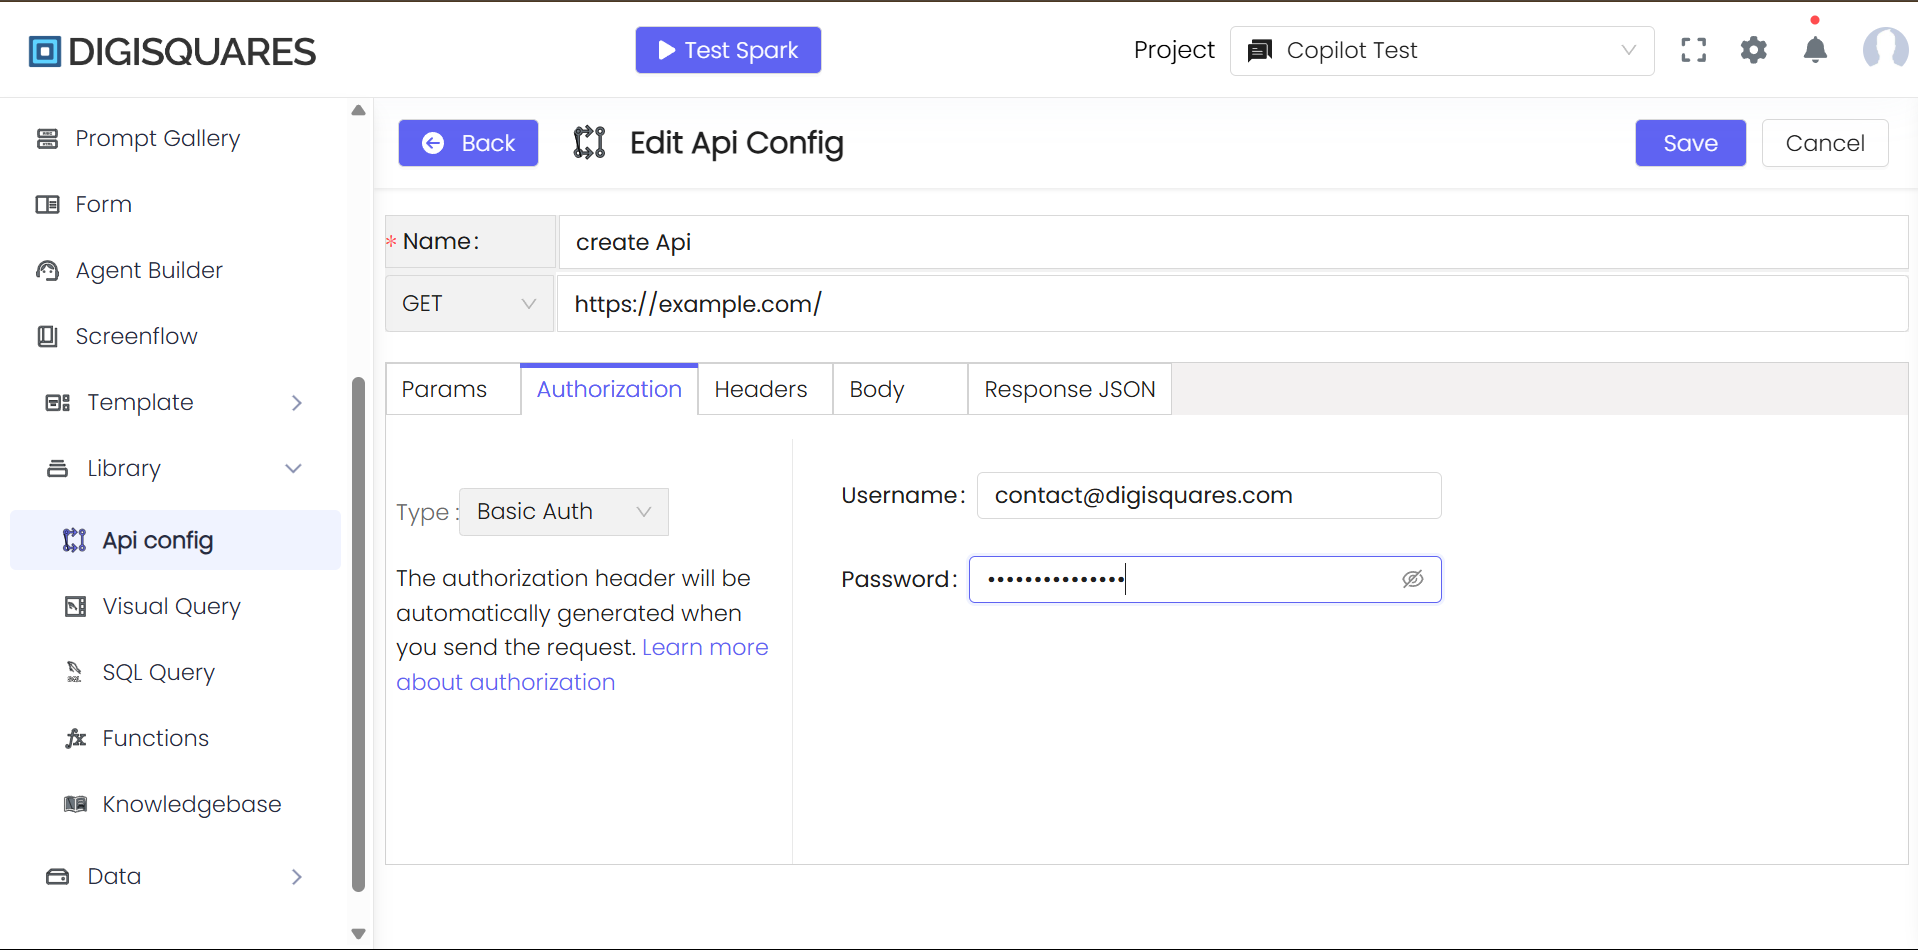
Step 3: Define the API's Name
- Enter a descriptive name for your API. For example, "FetchUserProfilesAPI" if the API is used to retrieve user profiles.
Step 4: Specify the Basic URL
- In the "Basic URL" field, enter the base URL for the API endpoint you want to connect to. This URL will typically point to the server or service hosting the API.
Step 5: Select the HTTP Method
- Choose an HTTP method to define the action the API will perform:
- GET: Retrieve data from the API.
- POST: Send data to the API for creation or modification.
- PUT: Update existing data in the API.
- DELETE: Remove data from the API.
Step 6: Customize Parameters
- If required, add query parameters, path parameters, or body parameters that the API needs. Use provided fields to configure these parameters as per the API’s documentation.
Step 7: Configure Authorization
-
Select the appropriate authorization method:
- No Auth (if no authentication is needed)
- API Key
- Bearer Token
- Basic Auth
-
Enter the necessary credentials based on the chosen authentication type.
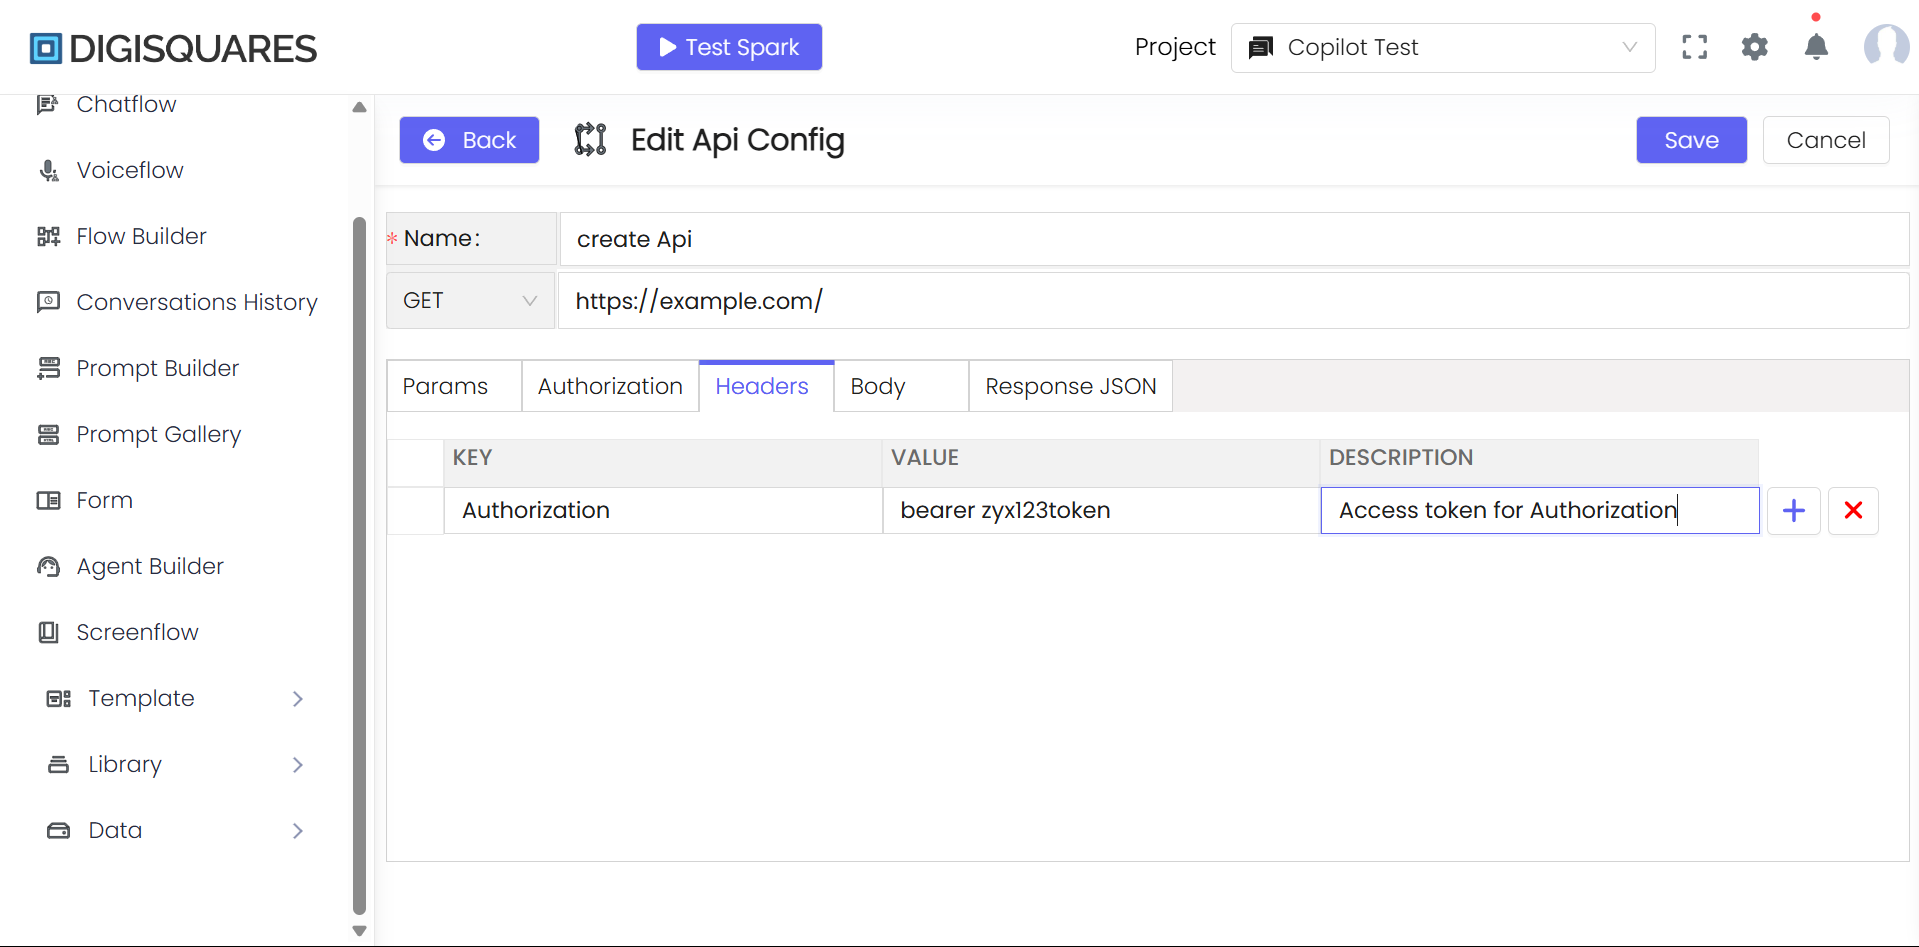
Step 8: Customize Headers
- Define any custom headers required by the API, such as:
- Authorization tokens
- Content type
- User-agent information
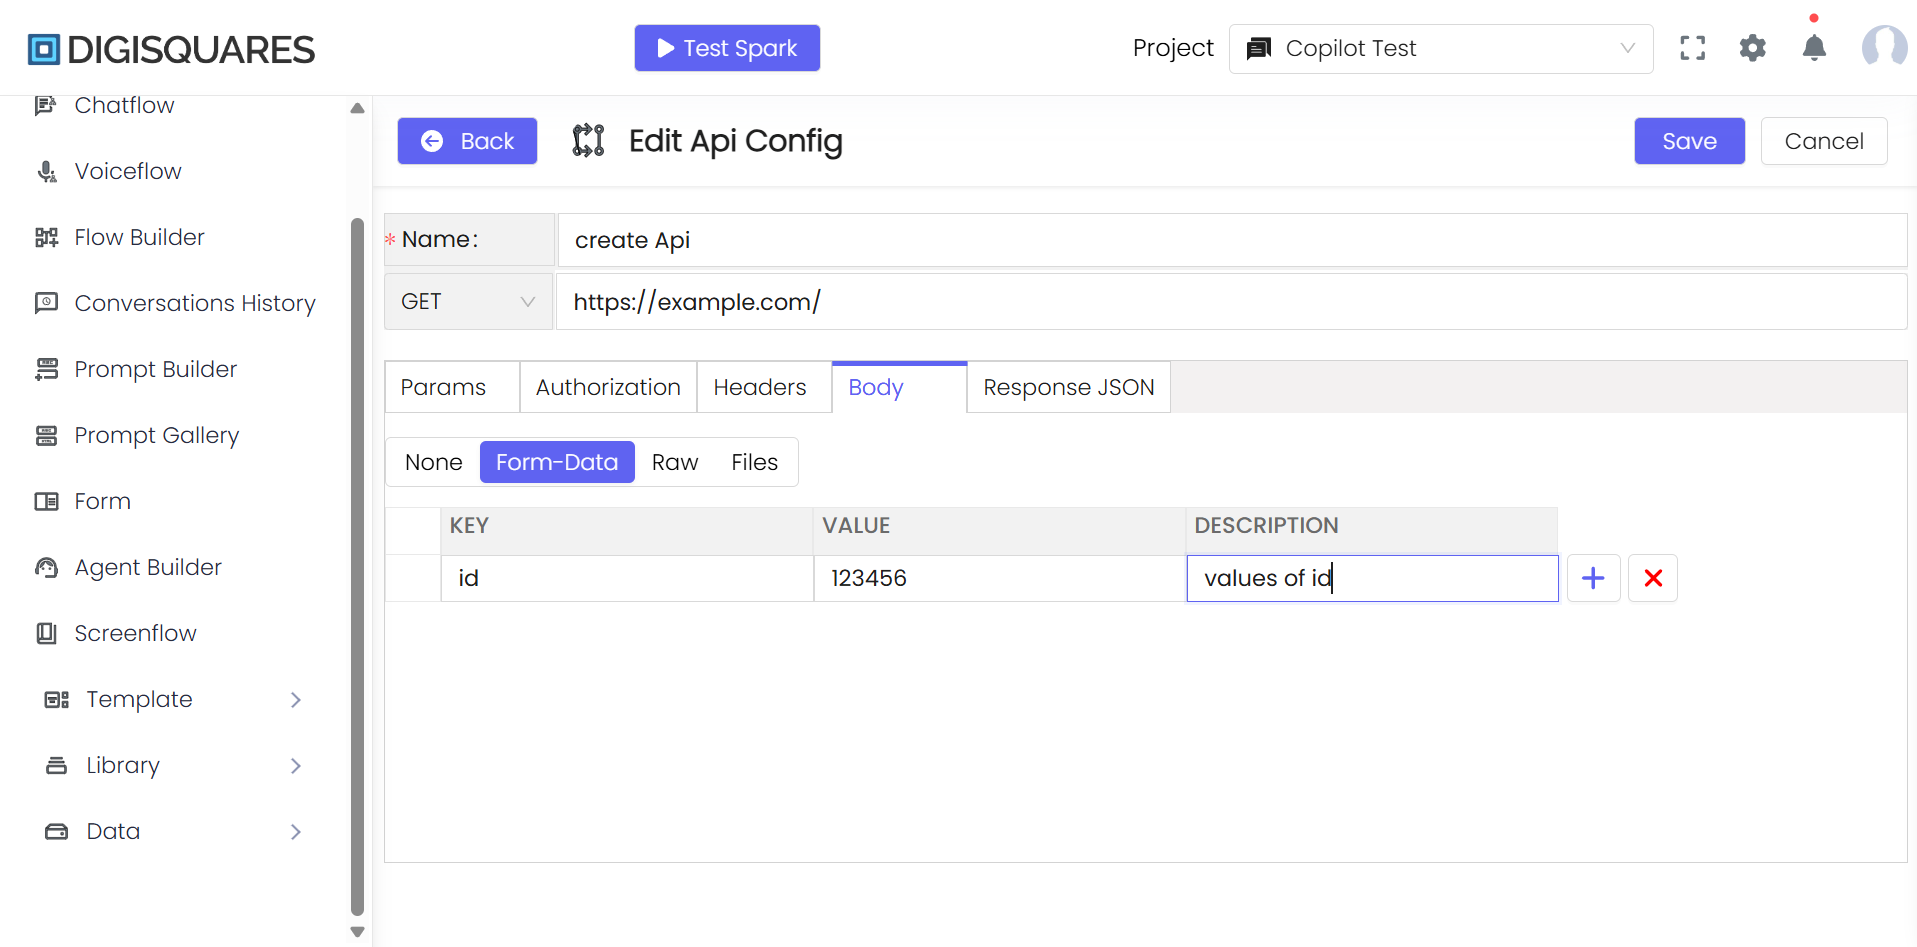
Step 9: Define the Request Body
- For POST or PUT requests, specify the structure of the request body. Select the appropriate content type (e.g., Form-Data, Raw, or Files) and enter Key, Value, and Description for each entry.
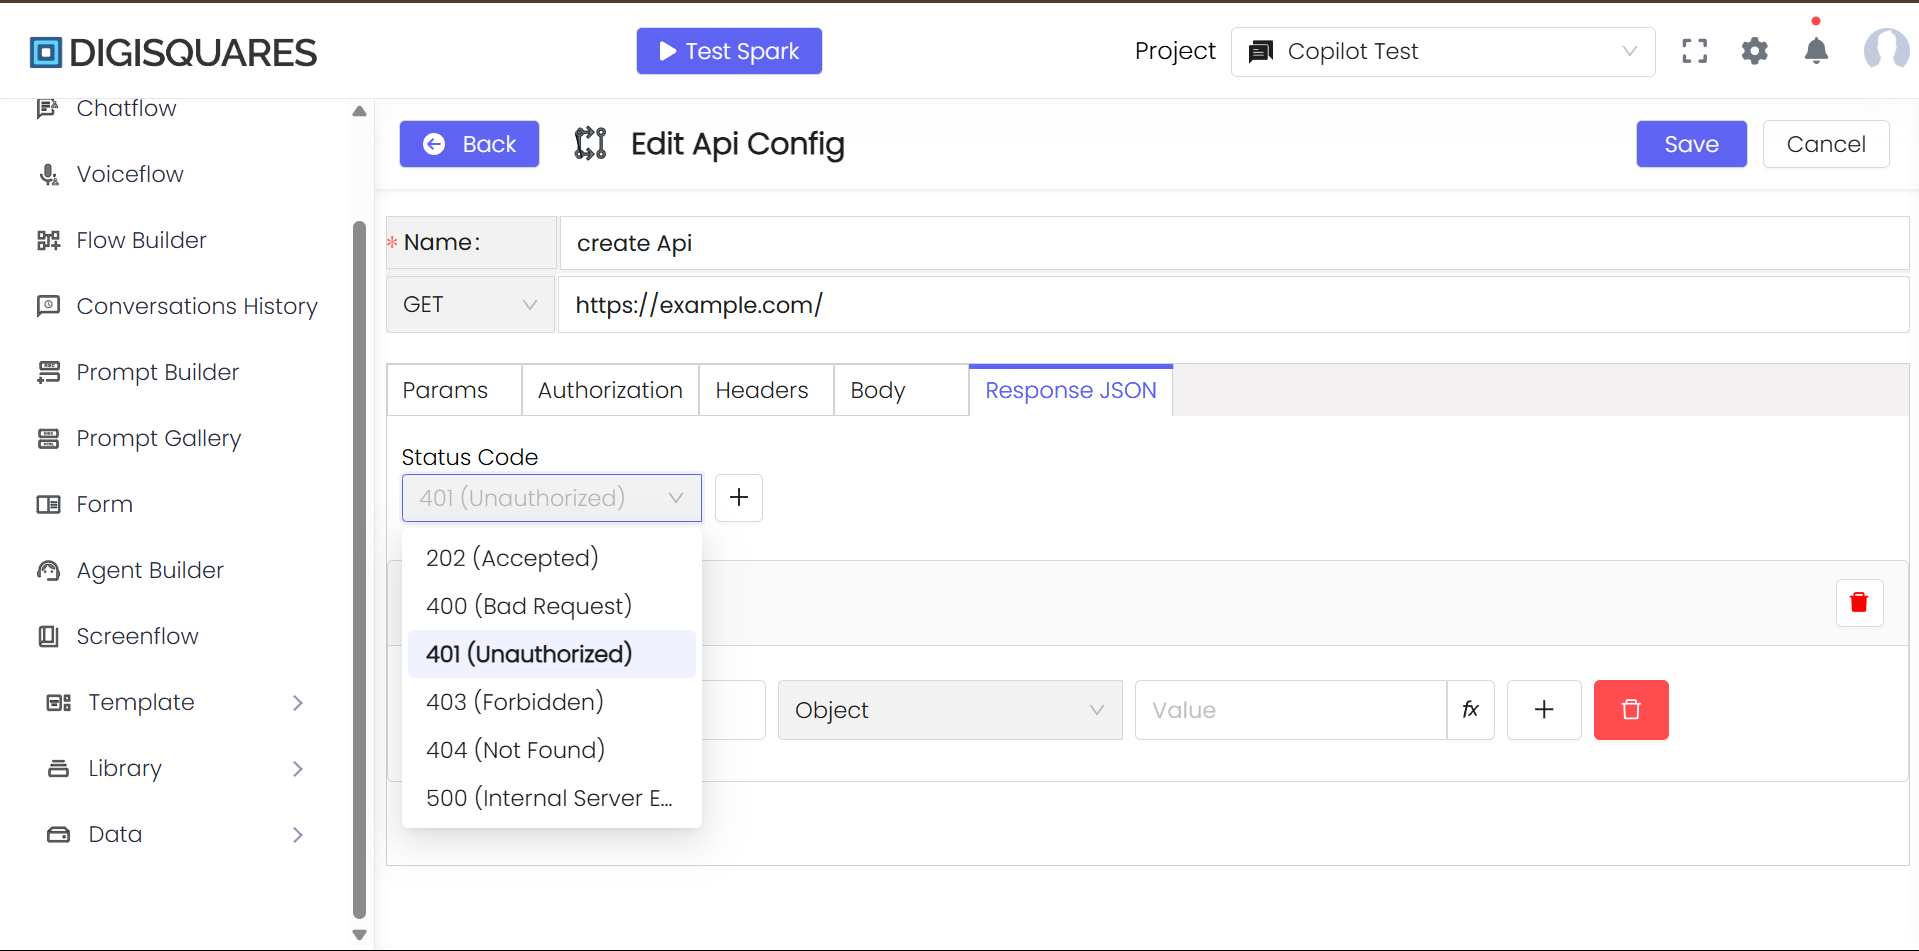
Step 10: Configure Response Settings
- Set the expected response status codes (e.g., 200 for success, 404 for not found).
- Define response headers to capture additional information from the API response.
Step 11: Define Response JSON Schema
- If applicable, provide a JSON schema that defines the structure of the expected API response. This helps ensure data is mapped correctly to your application's model.
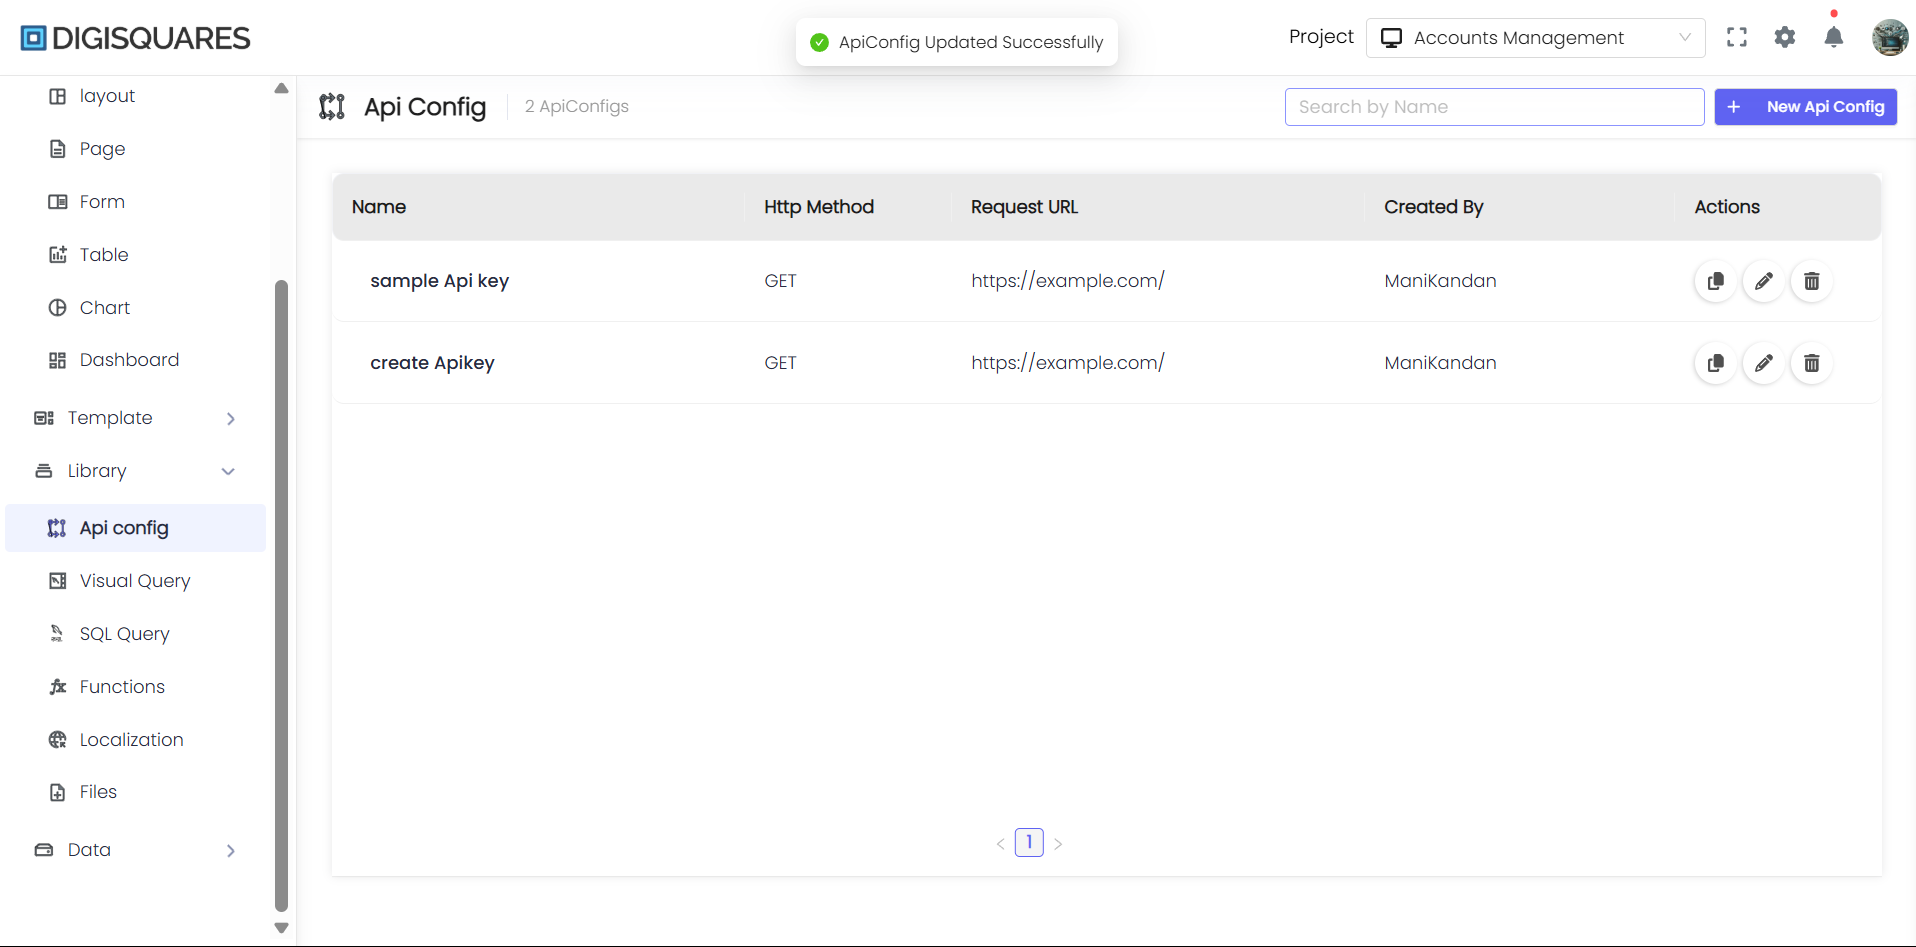
Step 12: Save and Test the API Configuration
- After completing all configuration steps, click Save.
- Use the built-in API testing tool to verify the API functionality by creating test scenarios and checking if the responses match expectations.
Step 13: Finalize and Deploy
- Once the API is thoroughly tested, finalize the configuration.
- Deploy the API within your application to begin using it in your workflows.

Conclusion
By following the detailed steps in this guide, you can seamlessly integrate external APIs into your Digisquares applications. Whether you are fetching data, submitting requests, or interacting with external services, the API Configuration Tool allows you to create, test, and deploy APIs effectively.
The Digisquares platform provides the flexibility and tools necessary for building secure, efficient, and powerful APIs that enhance the functionality of your application.